


In order for a scene to work with Photon, you need to add the playmaker proxy that will bridge Photon and PLaymaker together.
1: Preparing the Project
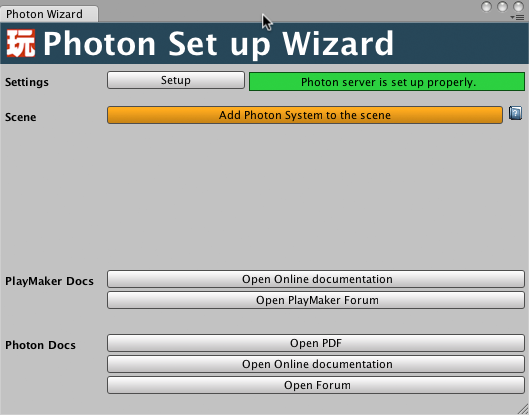
Make sure you have follow the project set up procedure first, that is, you should have in the first line, in green : "Photon server is set up properly",
else, follow the project set up procedure first
2: Preparing the scene
Click on "Add photon system to the scene".
For a given project, you can have several scenes, so it's important to make the difference between the global project photon set up using a particular appId
and each scenes you want to work with Playmaker, where you need to set it up.

Once you reached this state of the wizard, your scene is now ready.
Your next step in developing a multi user environment is to define what gameObjects will have to synchronize and exists within your multi user environment.
In order to synchronize data over the Photon network, and learn about how to create multi user scenes, refer to:
How to work with PlayMaker and the Photon multi user environment